Optionally install Wifi
This page does not apply to EX-CSB1 or other ESP32-based EX-CommandStations which have Wi-Fi built in.
If you intend to use an ESP-01 development board, please skip to ESP01
EX-WiFiShield8266
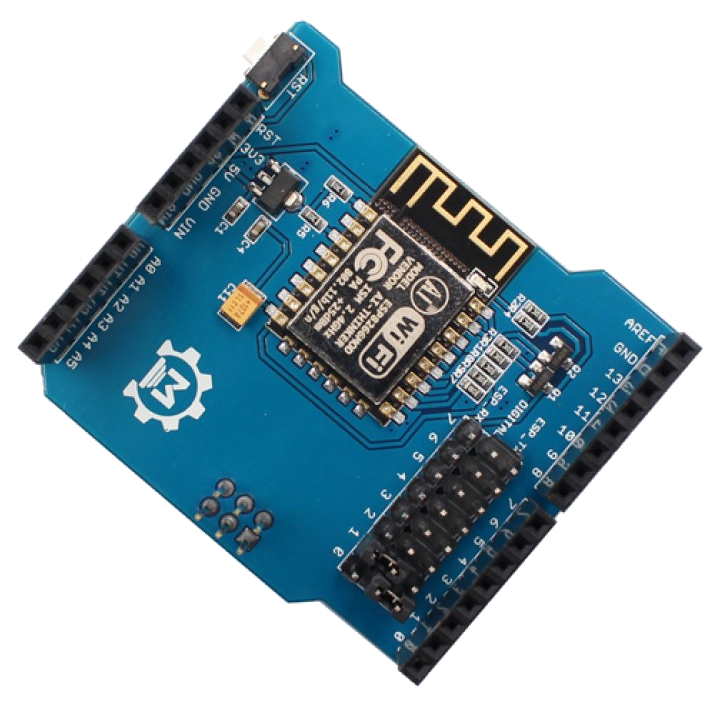 We recommend you purchase an EX-WiFiShield8266 (a joint venture with Makerfabs) which has been designed to make the installation easy.
You can find installation instructions here WiFiShield8266 install
Other shields
Most other Arduino ESP8266 Wi-Fi shields, including the dodgy ones with "Shield" and "Arduino" spelling mistakes, will work well with a DCC-EX EX-CommandStation but must be modified slightly to bypass the useless design based on UNOs with one user and no USB connection. They are frequently shipped with firmware versions that do not work well with DCC-EX (latest is not always best!) and it's non-trivial to rectify this.
In addition, the shield size overlaps the standard Arduino motor-shield terminal blocks which is a pain if you failed to follow the EX-CommandStation build suggestions at the time.
-
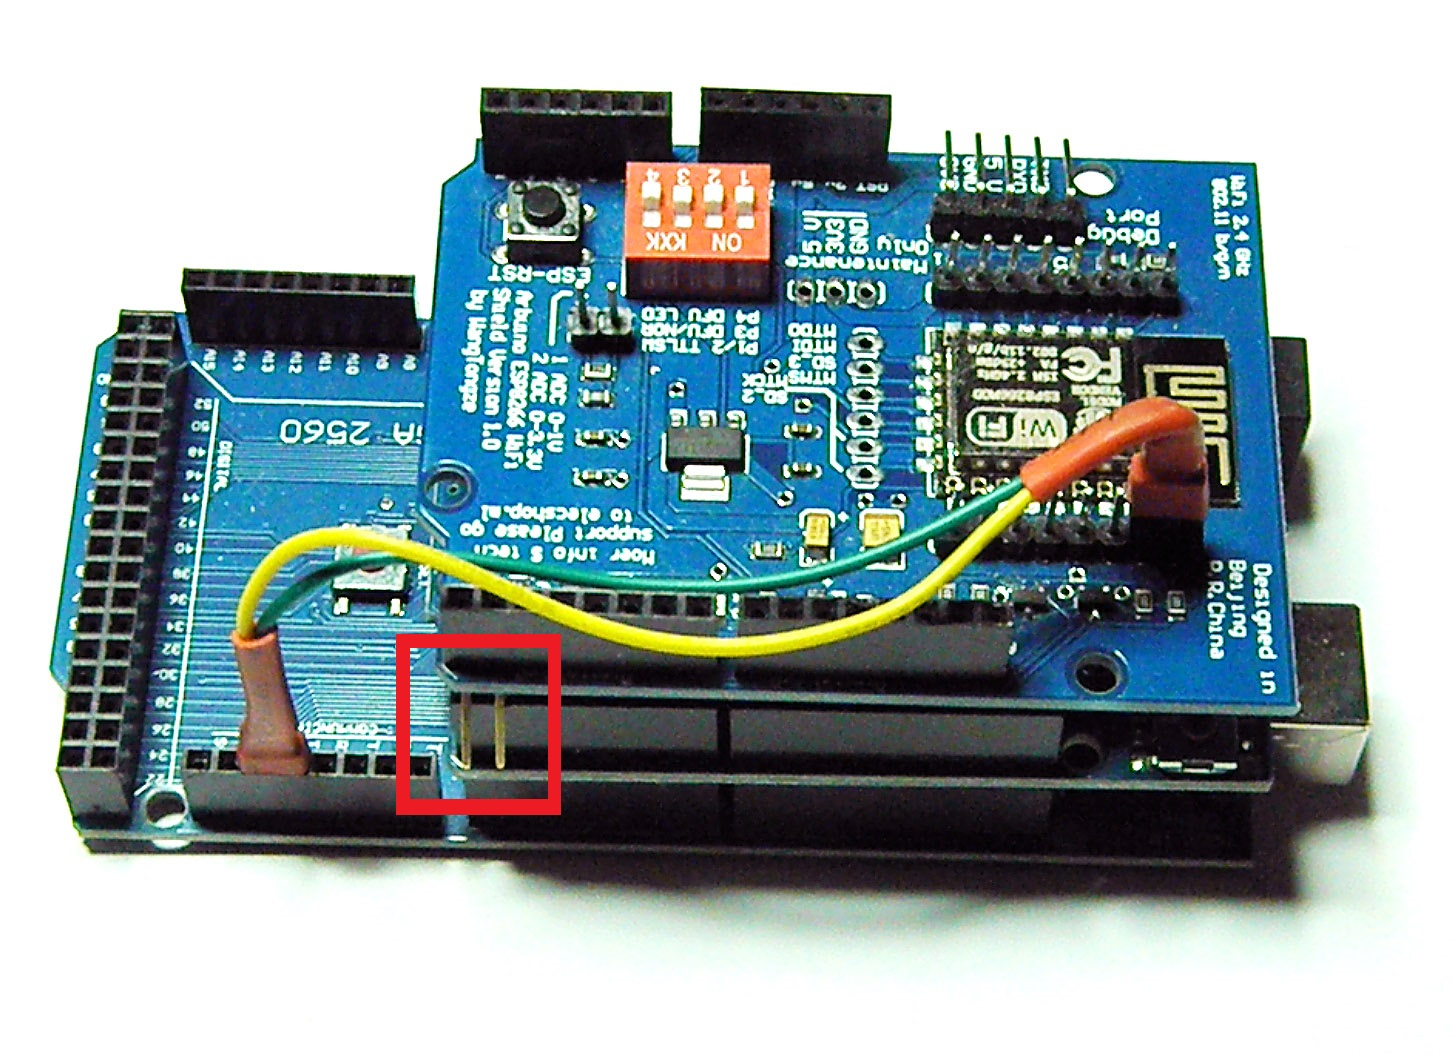
Ensure that the WiFi shield is physically modified to avoid it communicating over the standard Arduino Tx/Rx Serial pins, by removing pins 0 and 1. If it has any DIP switches, set them all off.
-
Mount the shield above the EX-CommandStation motor shield making sure the tab end of the WiFi shield is away from the power connector end of the motor shield.
-
Use two male-female Dupont wires to connect the WiFi Shield to your EX-CommandStation. (Pay Attention... we get a lot of support calls from users who have not noticed that the wires cross!)
- Arduino      Shield
- Rx1  -------> Tx
- TX1  -------> Rx
ESP-01 or ESP-01S
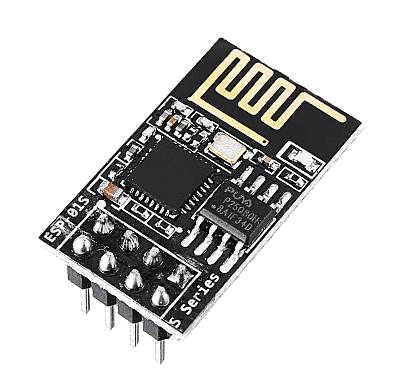 These devices are not recommended because there are power consumption issues that may cause random Command Station brown-out failure while attempting to connect in a low WiFi signal area. They will probably NOT work without a non-trivial firmware update.
The ESP-01 should be connected with dupont wires to the Command Station with wiring as follows:
- Arduino      ESP-01
- 3.3V  -----> Vcc
- 3.3V  -----> CH_PD
- Gnd   -----> Gnd
- Tx1   -----> Rx
- Rx1   -----> Tx
Incorrect wiring can destroy this device.