![]()
Editing myAutomation.h


The instructions containing all your objects and sequences is added to your EX‑CommandStation by creating a file called myAutomation.h in the same folder as ‘CommandStation-EX.ino’.
Connecting your Arduino and pressing the Upload button in the usual way will save the file and upload your script into the Command Station.
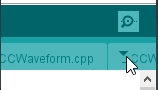
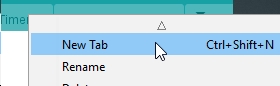
You can create and edit the myAutomation.h using a text editor (like Notepad), but if you are using the Arduino IDE (rather than the EX‑Installer) you can create the myAutomation.h file in the Arduino IDE. Use the pulldown button and select New Tab (or simply press Ctrl+Shift+N).
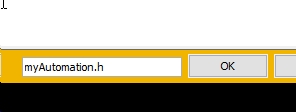
Enter the file name “myAutomation.h” (This is case sensitive)
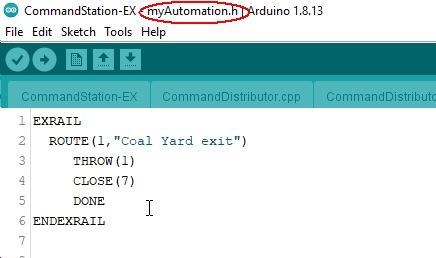
And type your script in.
Content
What you will need to add to your myAutomation.h` file will be explained in the next few pages, but can be categorised as:
Re-upload the EX-CommandStation software
Using EX-Installer
Warning
If you are using EX‑Installer DO NOT create or edit the myAutomation.h file in the EX-Installer installation folder (the folder the EX-Installer creates).
Instead, create you myAutomation.h anywhere else and point EX-Installer to that folder when it askes.
create your ‘myAutomation.h’ file in any
CommandStation-EX, anywhere on your computer (except the EX-Installer installation folder.)Run EX‑Installer
When asked, point EX-Installer to the folder and file that you created.
The myAutomation.h file will be automatically loaded with the EX‑CommandStation software.
See Managing config files with the Installer for more information.
Using the Arduino IDE
Place your ‘myAutomation.h’ file in the
CommandStation-EXsubfolder of wherever you extracted the EX‑CommandStation files from GitHub.Run the Arduino IDE
Open the
CommandStation-EXfolderSelect the Board, COM port etc. as before
click Upload
The myAutomation.h file will be automatically loaded with the EX‑CommandStation software.
Next Steps - Objects
See the Objects - an Introduction page or click the ‘Next’ button to learn how to add the key objects you will need to create your automation sequences.