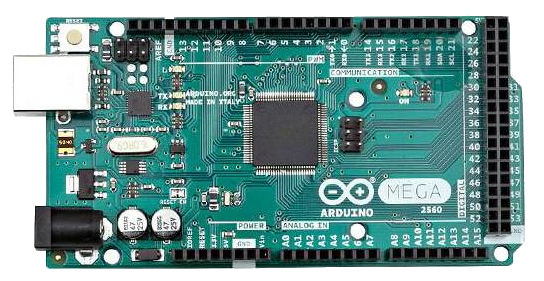
Arduino Mega (Recommended)
Why do we recommend the Mega?
When compiled, our code just barely squeezes onto an Arduino Uno. A mega allows you to add more features like networking and displays because it has more memory.
The Mega has many more GPIOs (General Purpose Input/Outputs) available to you for constructing control panels and controlling turnouts, signals and other accessories.
The Mega has more hardware serial ports. You can connect a WiFi board and something else like Bluetooth at the same time.
The mega is only modestly more expensive than an Uno, with clones available for less than $10 USD.
See the special note about the Mega+WiFi board below for a board that has the microcontroller and WiFi already on one board.
See the Initial Assembly page for information on setting up this microcontroller.

Fig 113: Arduino Mega Microcontroller
Arduino Pro Mini
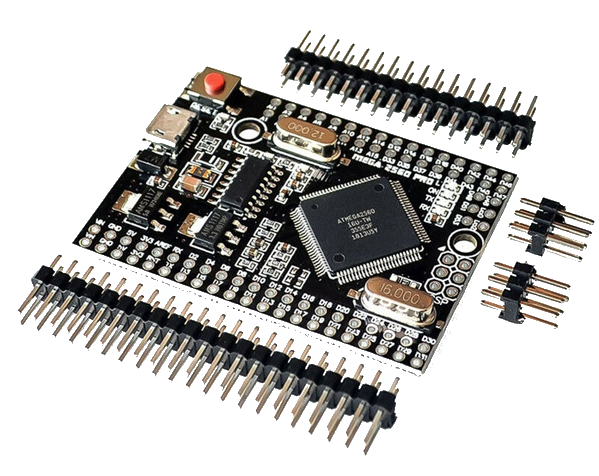
Note that if the size of the regular Mega board is an issue, there are condensed Mega clones that are only 52mm long! They don’t take shields, so you will need to use headers and jumper wires, but they will fit in a very small box. Look for boards by the name “Arduino Mega 2560 PRO Embedded” or “Mini MEGA 2560 Pro Micro” or just “Mega Pro 2560”. Be careful to get the correct one for what you are trying to do because they can come in 3.3V versions or 5V versions and have a Micro-USB port (which you probably want) or just pins to a TTL serial port, and come with header pins you have to solder or not. Remember it must be a 2560 not a 328.

Fig 114: Mega Pro Micro
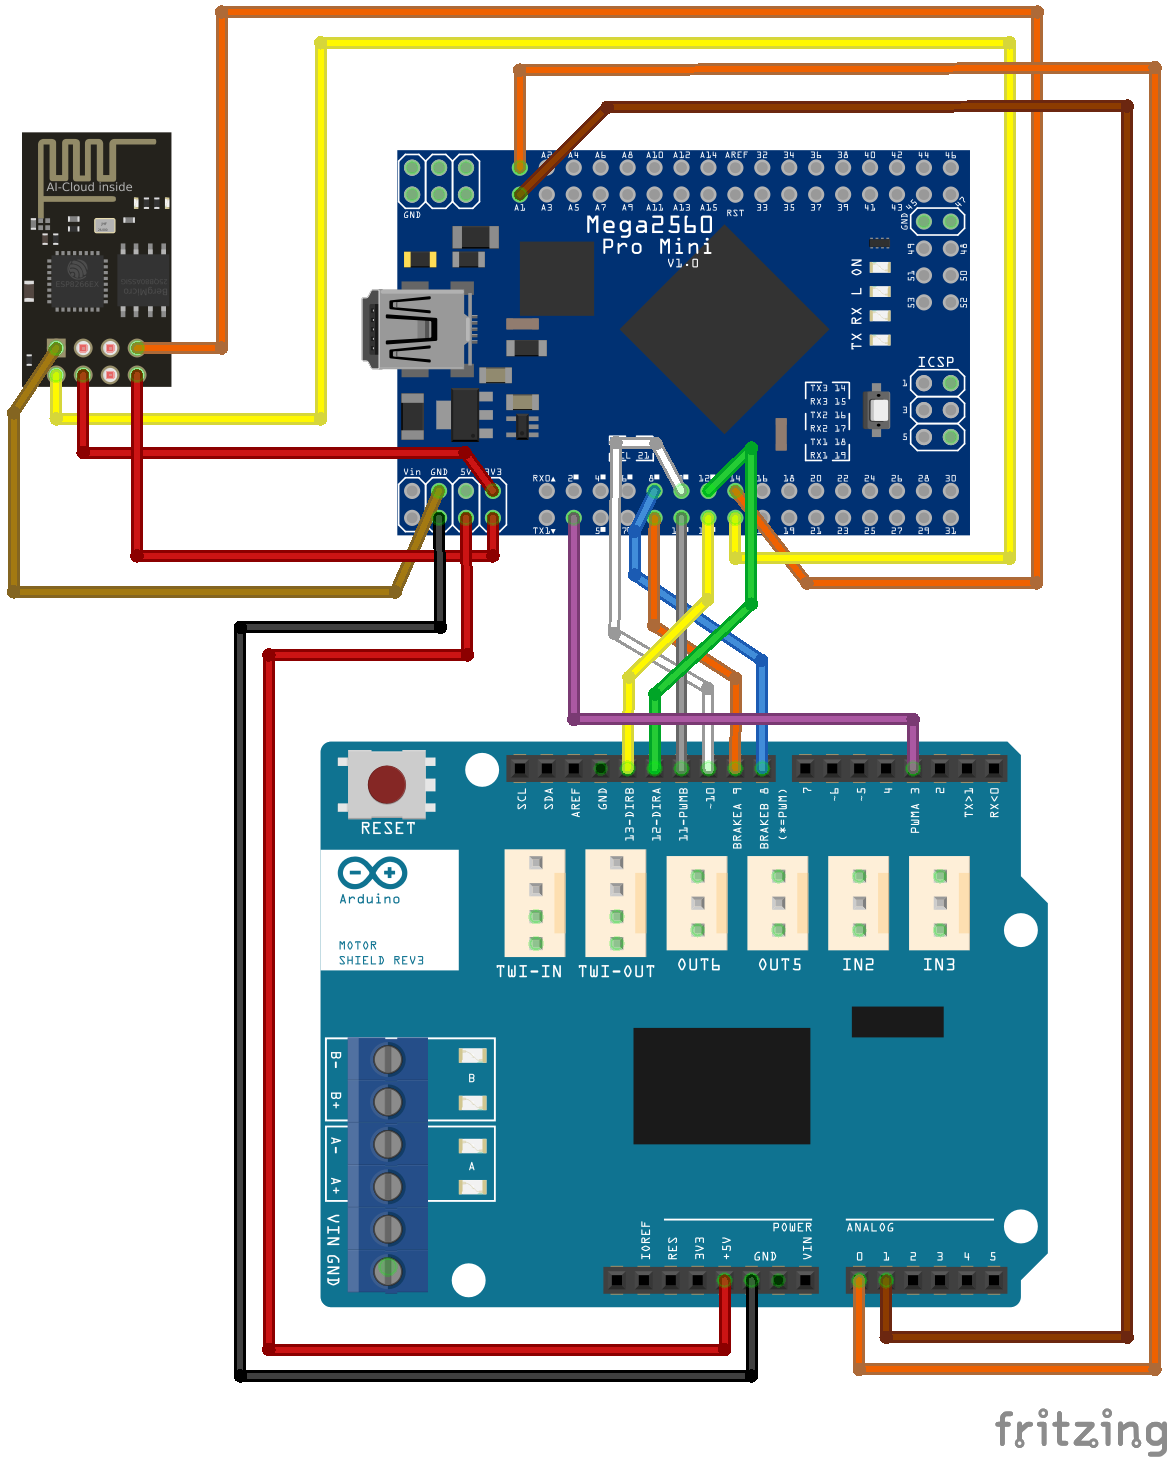
Notes for setting up the Arduino Pro Mini
As these microprocessors are not plug compatible with the shields you will need to wire the appropriate pins manually as per the diagram below

Fig 115: Mega Pro Mini - Wiring motor shield and ESP-01
Warning
Note that if you purchase a 3.3v version of the Arduino Pro Mini you may need make wiring changes to your Motor Shield to protect the microcontroller as many of the aftermarket version of this board come with a know wiring fault.


