![]()
WangTongze Board


Warning
Please be aware that the Espressif firmware shipped with Duinopeak ESP8266 WiFi Expansion, ESP-01 or ESP-01S and WangTongze devices will probably NOT work with EX‑CommandStation out of the box.
(Note: The recommended Makerfabs ESP8266 WiFi Shield is now shipping with the correct firmware version and will work with EX‑CommandStation without modification).
This can be corrected, but is probably beyond Conductor level and requires additional hardware.
See ESP8266 (WiFi Boards) - AT Version Issues and Solutions for details on how to check the version and how to correct it if needed.
AKA: Uno R3 Mega Esp8266 Serial WiFi Shield / ESP-12E Board
Tinkerer to Engineer Level
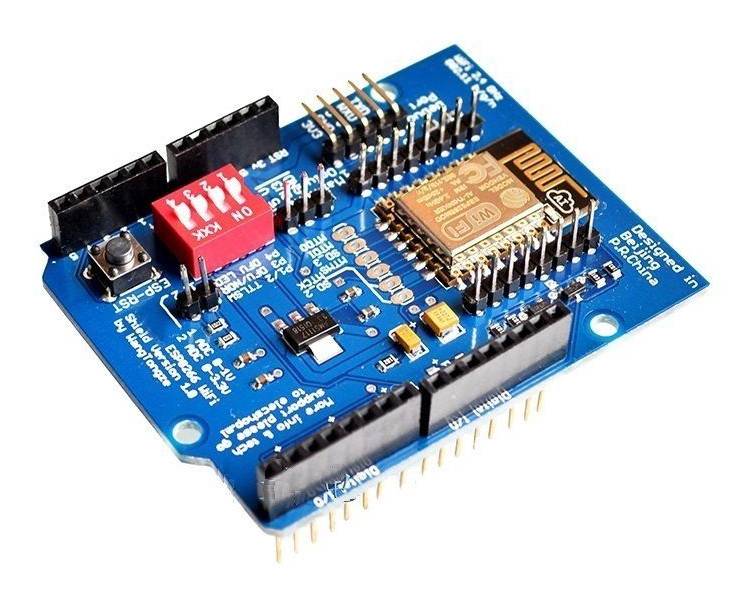
This board has many names, the easiest way to identify it is by the red dipswitch bank. Then zoom in on the pictures you see on the supplier site and look for “WangTongze” on the board. They may blur it out. DO NOT buy this board unless you know you are getting a genuine WangTongze board! If you get a “good” board, it will work perfectly, if you get a bad clone, it won’t work without employing workarounds. A genuine WangTongze has no misspellings.
One board has “shield” spelled incorrectly as “shiald”. The “shiald” version works, but some say it has an unreliable WiFi connection.
There is another version where the “more” in “more info” is spelled “moer” and “Arduino” is spelled “Arbuino”. This board has the wrong transistors soldered onto it in the level shifter circuit. Get out your cell phone, take a picture of your board and zoom in on the section of the board you see here:
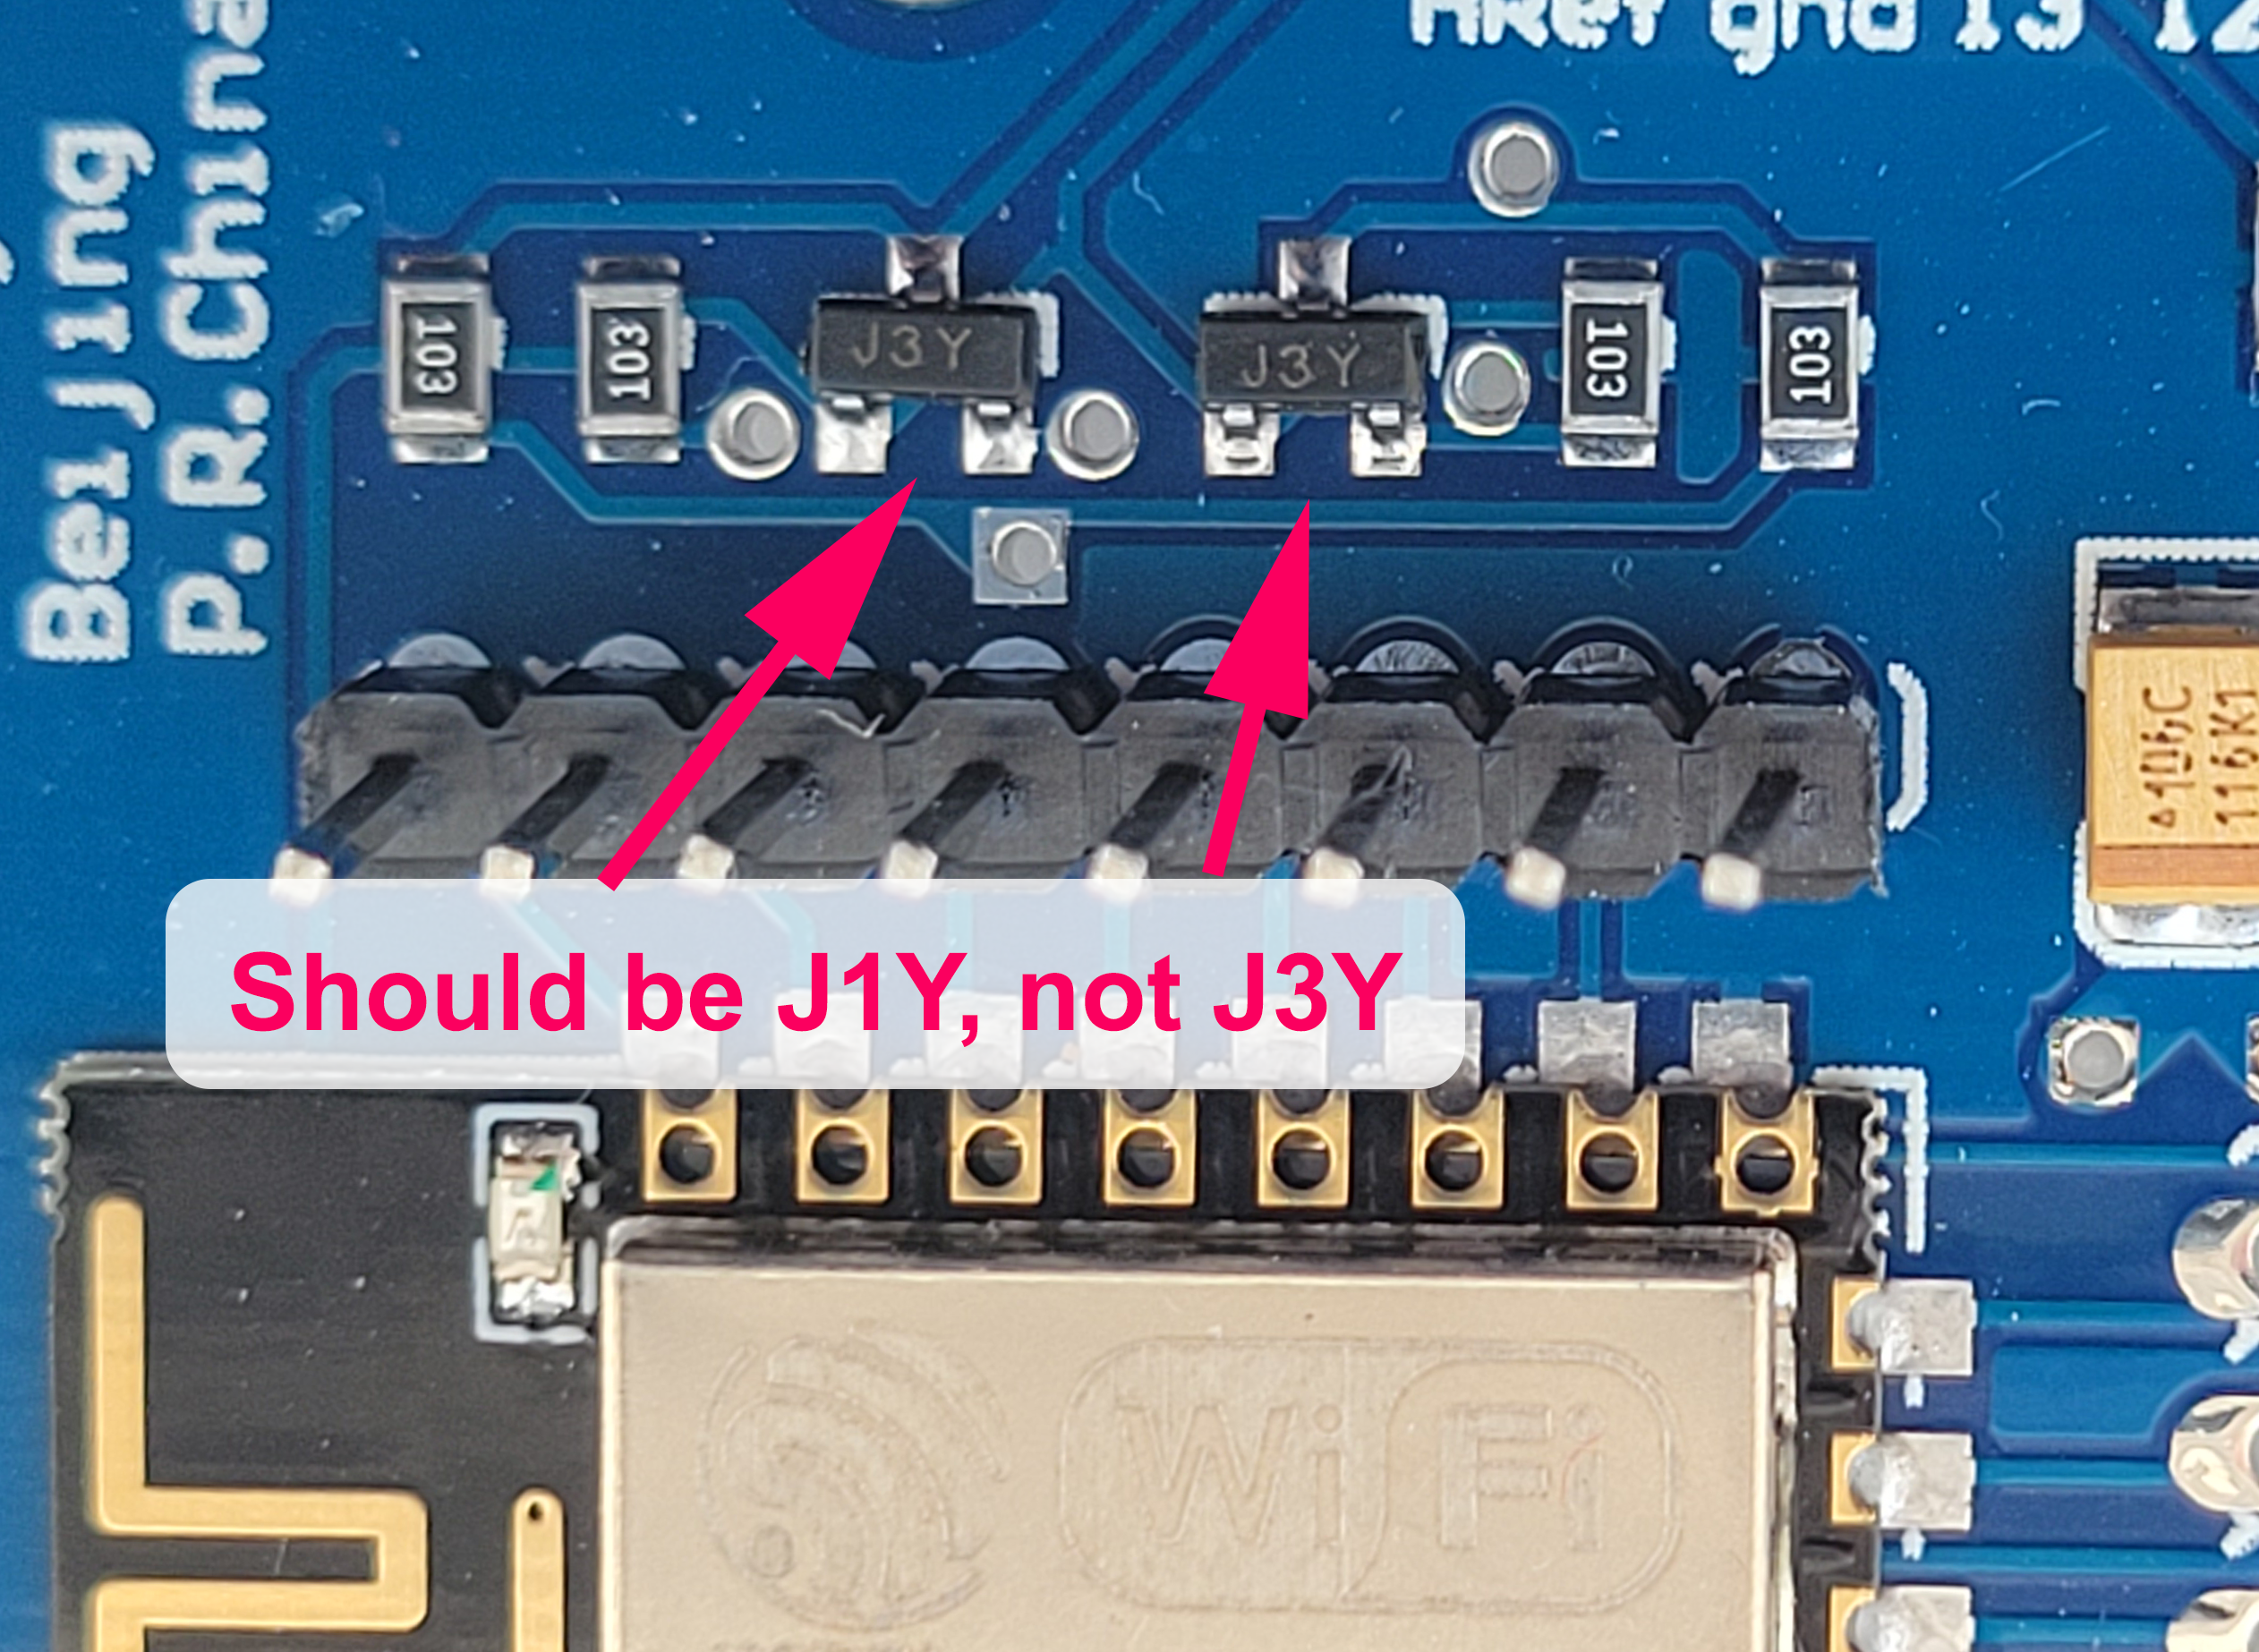
Fig 399: WiFi board level shifting transistors should be J1Y (click the image to enlarge)
If these 2 transistors are labelled “JIY” you are lucky and the board will work with no modifications. If they are labelled “J3Y”, you have two choices to get this to work:
Warning
As per the red rectangle in the image below, you will need to bend out the two pins associated with D0 and D1, otherwise this board will interfere with the USB connection to your EX‑CommandStation and you will not be able to load software on to it, nor view the serial monitor.
We do not recommend this board due to the various issues listed on this page.
Tinkerer way - You could bypass the header connections and use jumpers to wire directly to the debug pins of the ESP8266, but that bypasses the Tx/Rx level shifters. The ESP8266 Tx/Rx pins are 5V tolerant, but it is always best if you can to shift 5V from the Arduino to 3.3V. You could also make a small 2 resistor voltage divider to connect to the debug header Rx pin. The Tx pin to the Arduino will be fine as is.
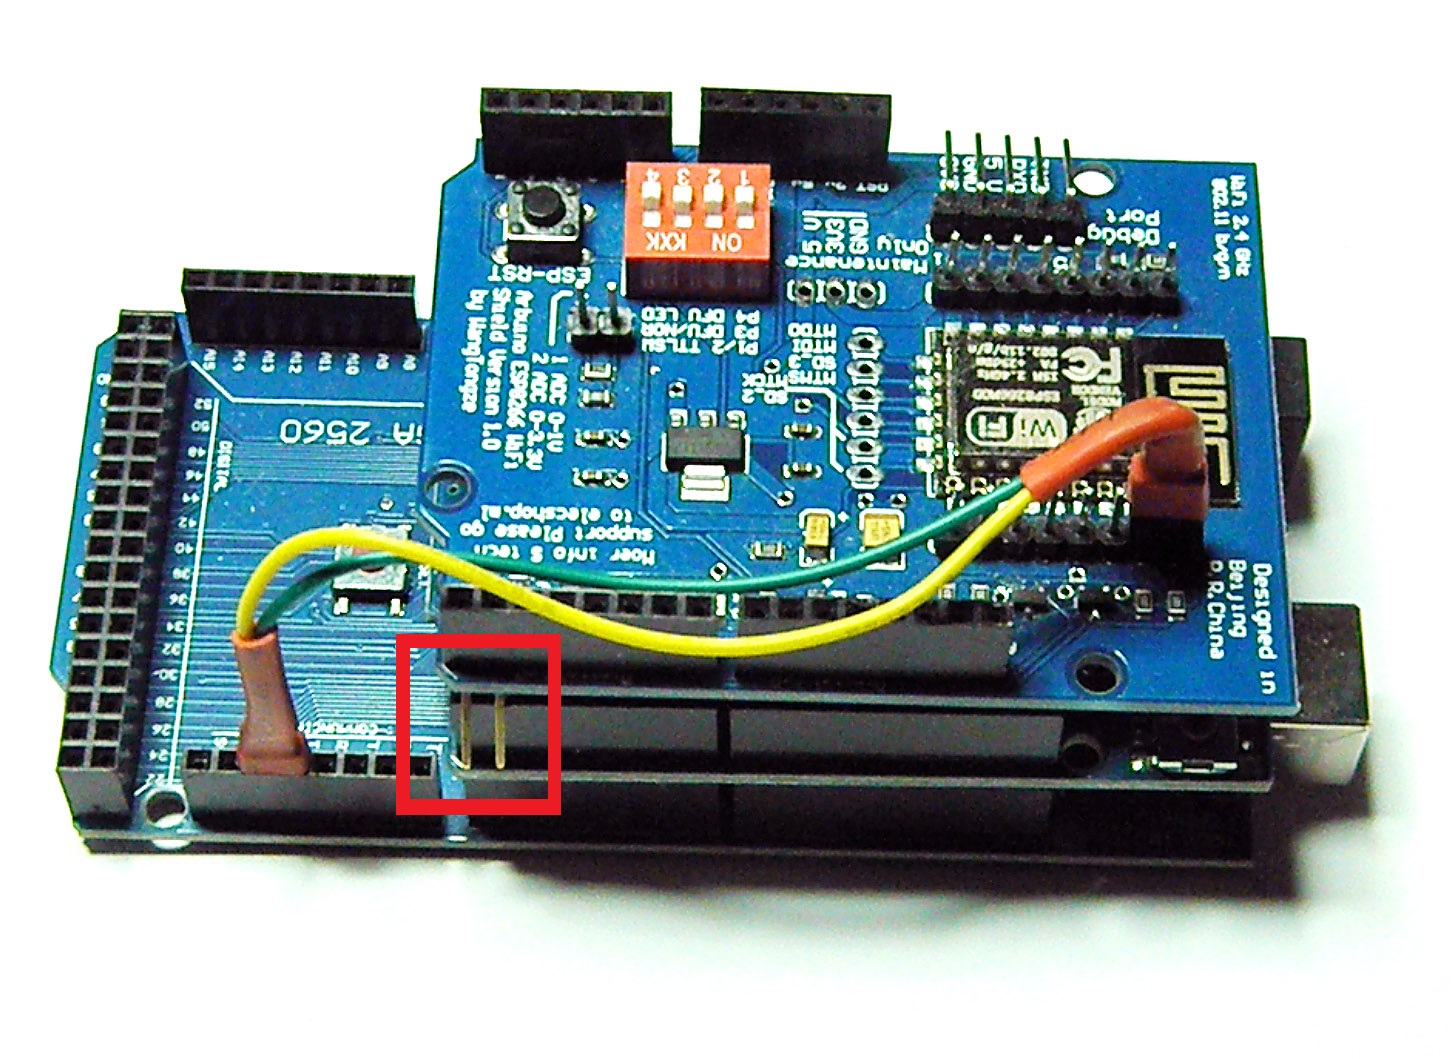
Fig 400: Using Jumpers Directly to the Debug Header
And here is a voltage divider with just two resistors you can use as a signal level shifter circuit:
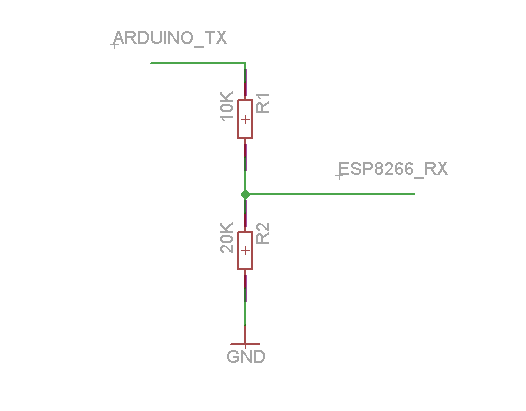
Fig 401: Voltage Divider Level Shifter for ESP8255 Rx Debug Header Pin
Engineer way - You can buy the correct surface mount transistors and replace two of them using a magnifier as we did when we had nothing better to do that day, but that’s a lot of trouble to go through unless this is the only board you can find. If they are labelled “J3Y”, you can order “J1Y” replacements, remove the old ones, and solder in the new ones. This is a job for a skilled solderer.
The bottom line is that we don’t recommend this board because you would have to be very careful and know which one you are buying.